In a recent article, I discussed how easy it is to use Edge DX to be alerted when a unified communications (UC) application, such as MS Teams or Zoom, has issues. In that article, I bloviated about the importance of UC applications, and I mentioned (almost in passing) how an action could occur every time an issue affected a user’s experience with their UC application.
In this article, I will discuss two scenarios where remediation occurs. In the first, an issue is detected, and then either a help-desk employee or the end user instantiates the action to correct the issue. This scenario is probably the most prevalent and occurs either when some sort of validation of the event is needed or when the parameters of the issue are too vague to be handled in an automated fashion.
In the second scenario, the parameters of an issue are well understood; therefore, it is possible to use Edge DX to instantiate corrective actions without any manual intervention, and this methodology can lead to self-healing.
Running Corrective Actions Manually
One of the more interesting UC-related problems is a participant’s audio input failing to work in a call; they take themselves off mute, but the other participants still can’t hear them. Many times, the cause of the issue is the user simply having the incorrect microphone source selected. For example, I have four sound input sources on my laptop that I can see in my sound settings: a Jabra headset, my monitors, and my laptop.
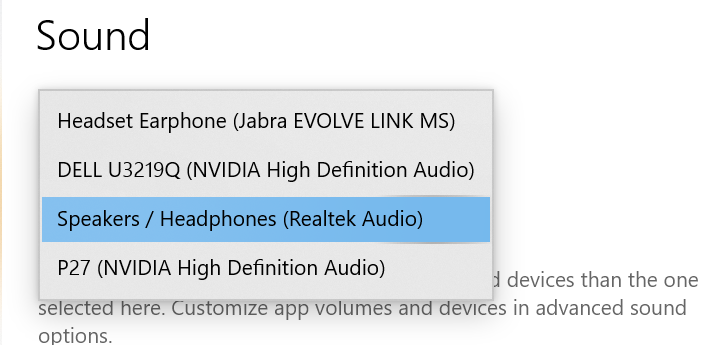
Figure 1: Sound
Another way to list the input sources is by running a PowerShell script, like the one below:
Install-Module -Name AudioDeviceCmdlets -Force -Verbose
Get-AudioDevice -List | select Name, type | sort
The first line of the script imports the module, and the second line lists the audio out (playback headset/speakers) and audio in (recording microphone) devices.
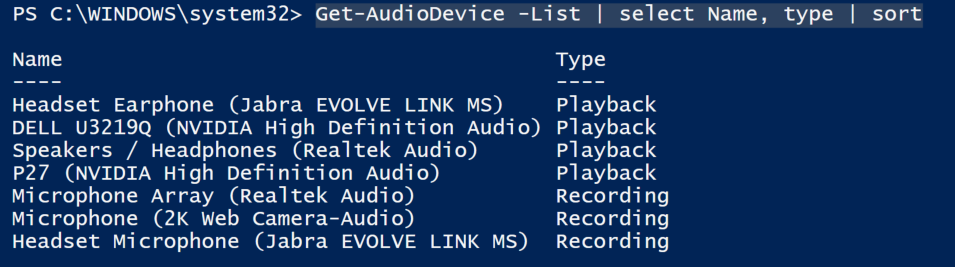
Figure 2: Script
We can further modify the code only to list the audio in devices:
Get-AudioDevice -List | select Name, type | Select-String -Pattern “Record”
To help us quickly diagnose issues with audio devices, we can create an Edge DX action using these PowerShell commands and then execute the action on any device we see issues with. You can read more about creating actions here and here.
The below screenshots show the action being run against a device and its output.
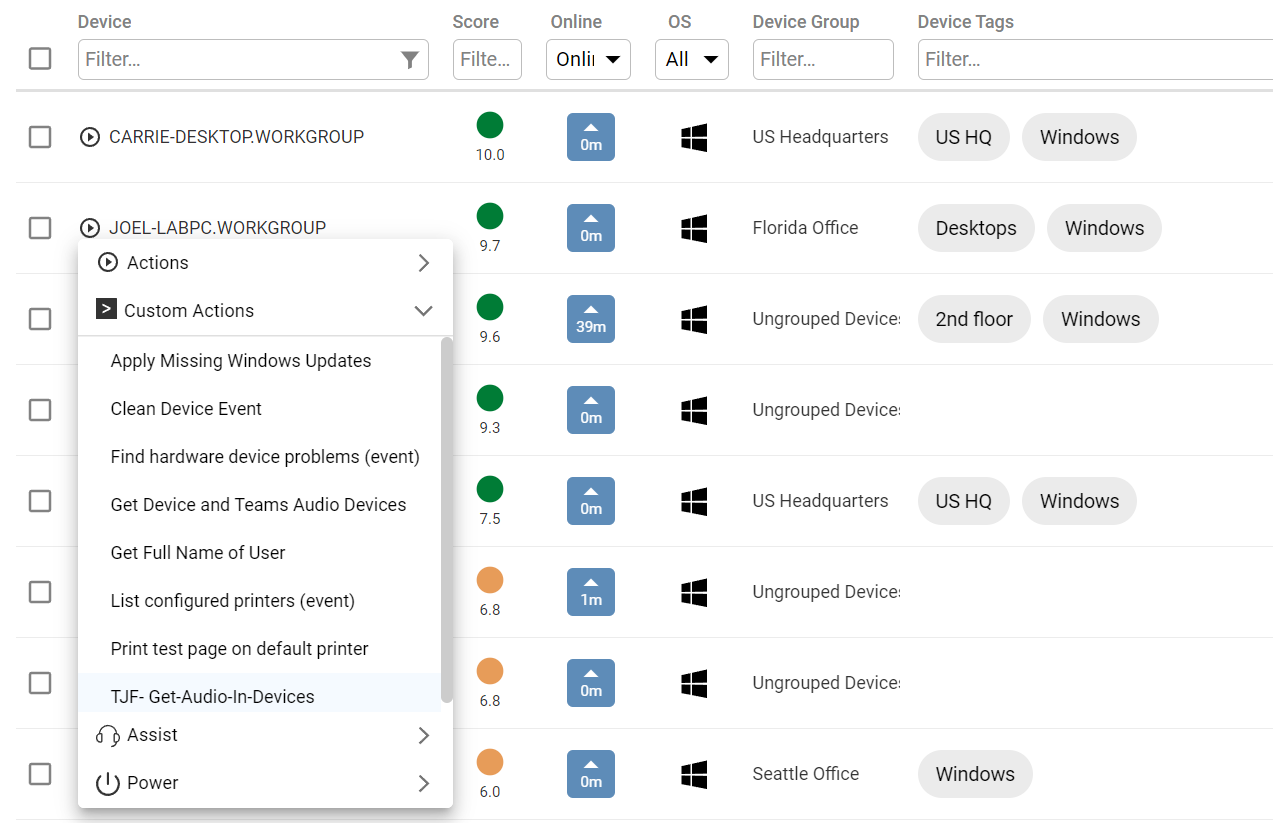
Figure 3: Action
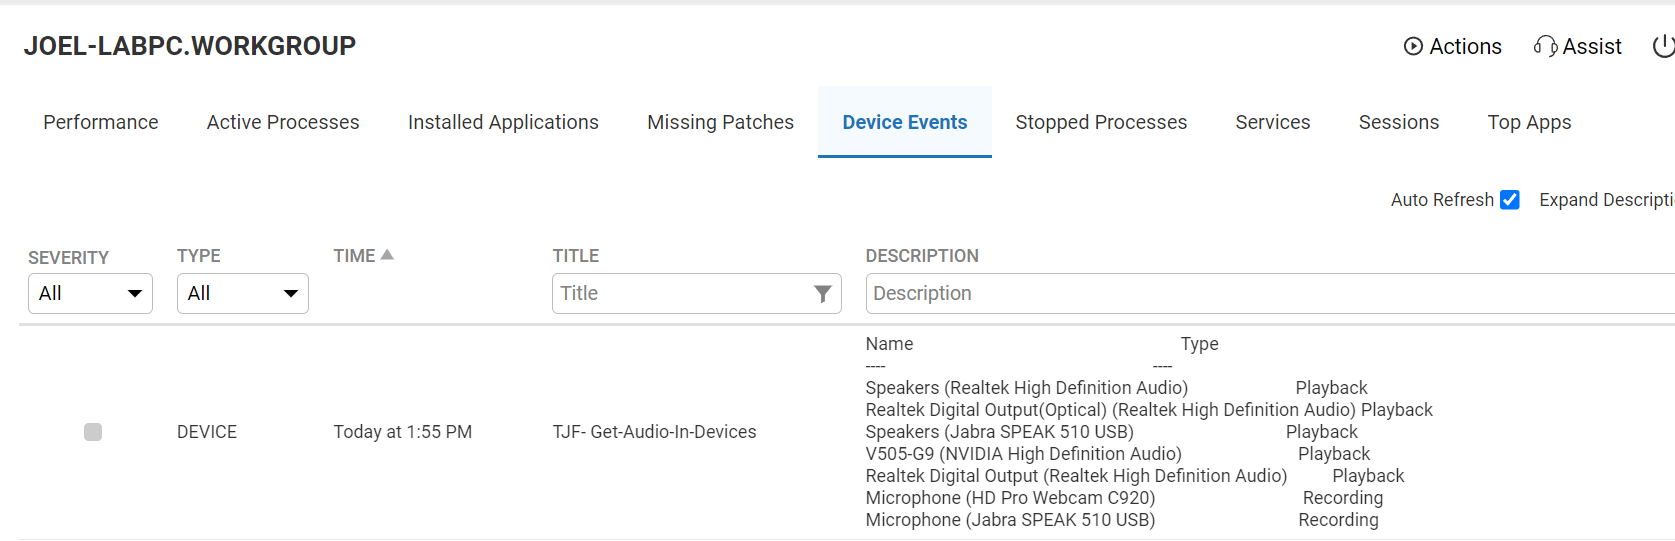
Figure 4: Workgroup
We can then go to the call details and see what device was being used during the call.
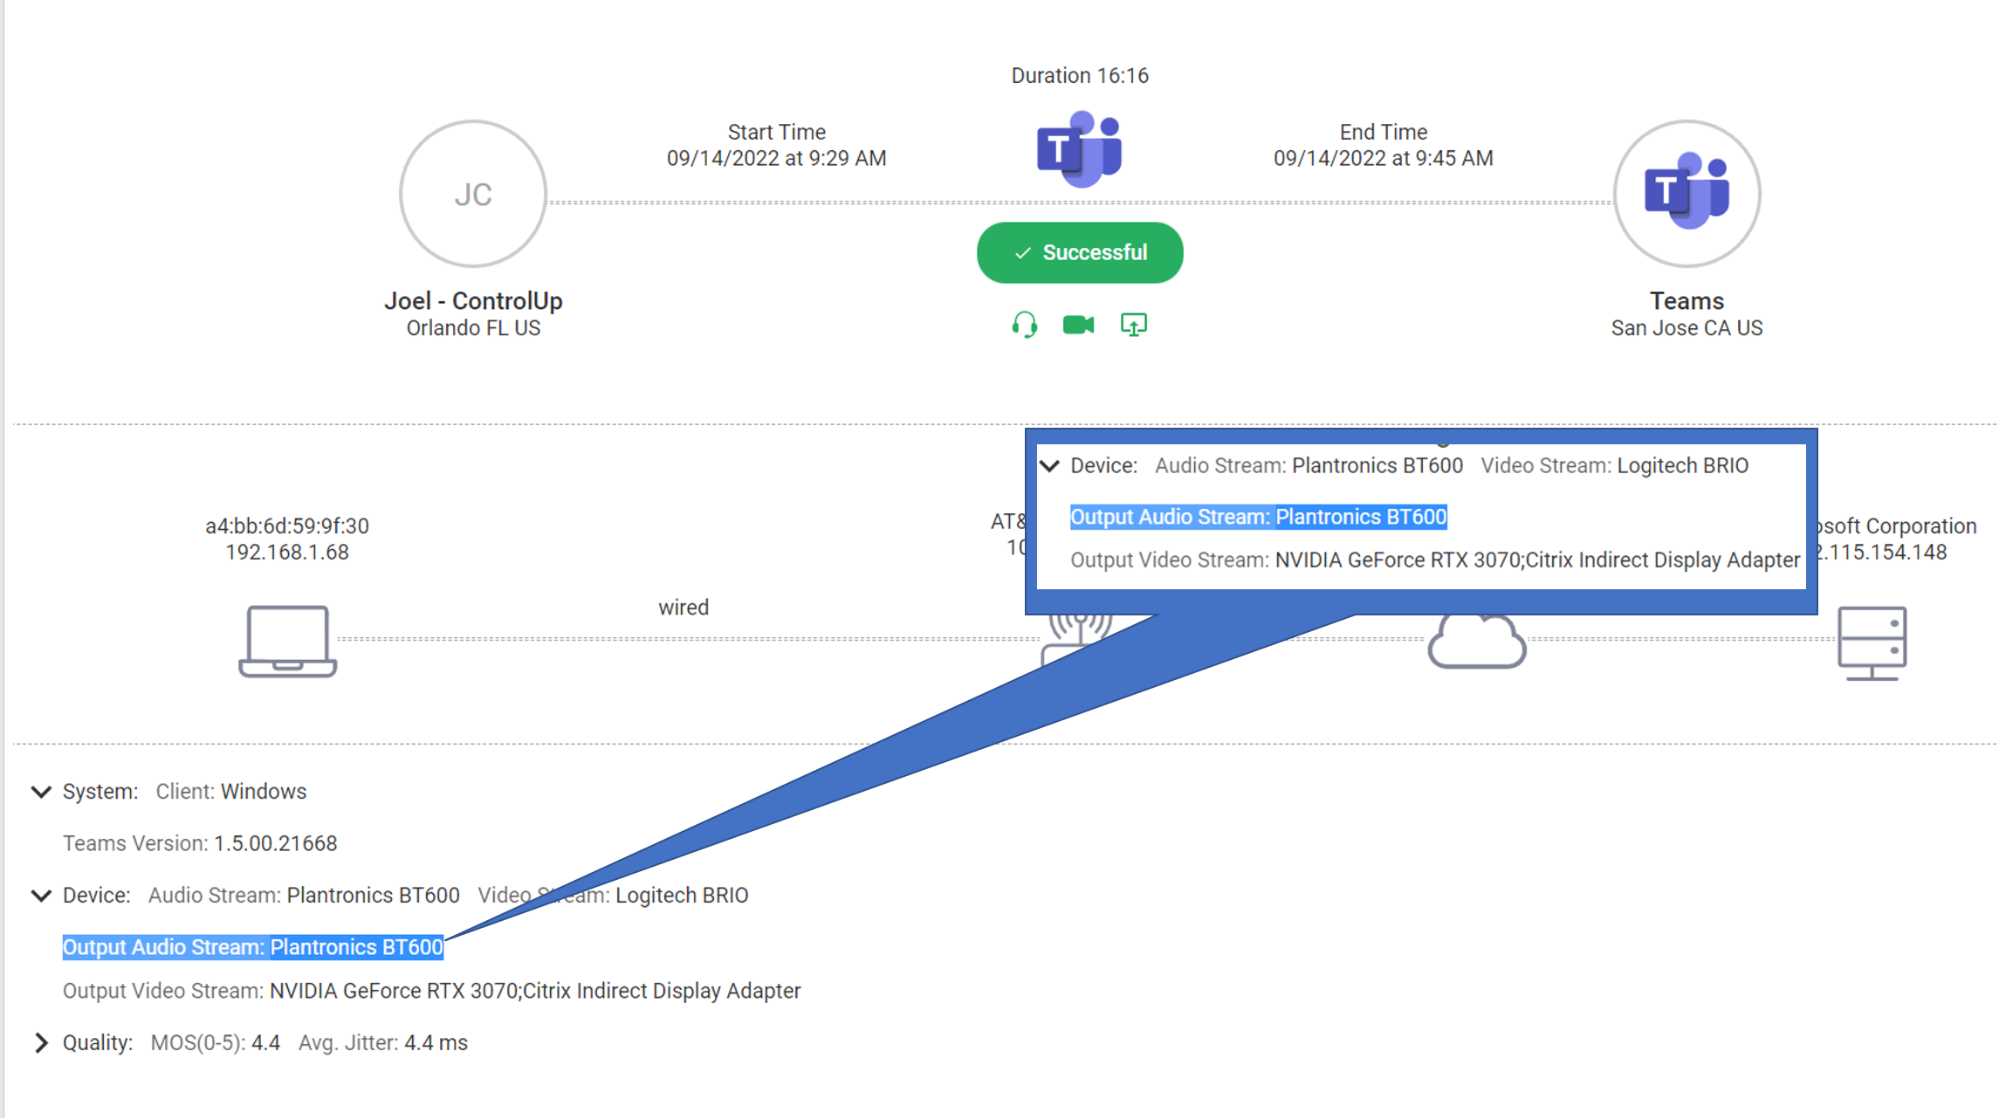
Figure 5: Call Details
In this case, the audio output device the user used during the call was a Plantronics BT600, which they later swapped for the Jabra device to try to remedy the situation.
If needed, the help desk can use Edge DX’s Remote Control or Remote Shadow to view the user’s screen to help correct the issue.
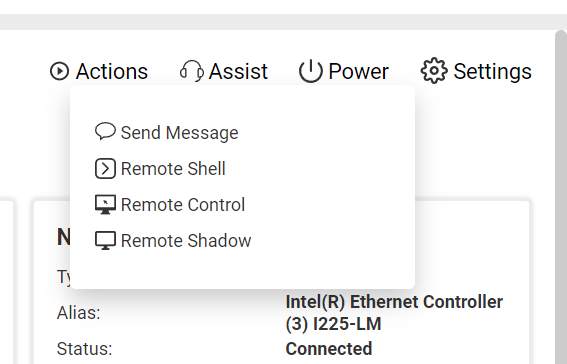
Figure 6: User Screen
To summarize, the workflow to correct this problem is as follows:
- User calls in with an issue – cannot be heard on Teams call.
- The help desk views call info and view Teams data in Edge DX.
- The help desk initiates an Edge DX action and lists available microphones on the device.
- The help desk uses Edge DX Remote Shadow or Remote Console and either view (Remote Shadow) or changes (Remote Control) the microphone for the user.
Automatically Correcting an Issue.
A more elegant solution is to correct issues as they arise automatically. Edge DX can do this with the use of triggers, which can be set off using a single metric or any combination of multiple metrics. In the below example, for example, I set up a message to be sent to a user if a low Wi-Fi signal is detected on a device. The PowerShell script for the custom action is as follows:
[Console]::OutputEncoding = [System.Text.Encoding]::UTF8 # This line is added automatically to “C:\Program Files\Avacee\sip_agent\UserPrompt.exe” “WiFi signal is low. Please move closer to the router”
Write-Output(“### SIP EVENT BEGINS ###”)
Write-Output “Low Wifi signal detected”
Write-Output(“### SIP EVENT ENDS ###”)
I then set up a trigger to run this action every time the Wi-Fi signal strength exceeded 70%. You can read more about setting up triggers here.
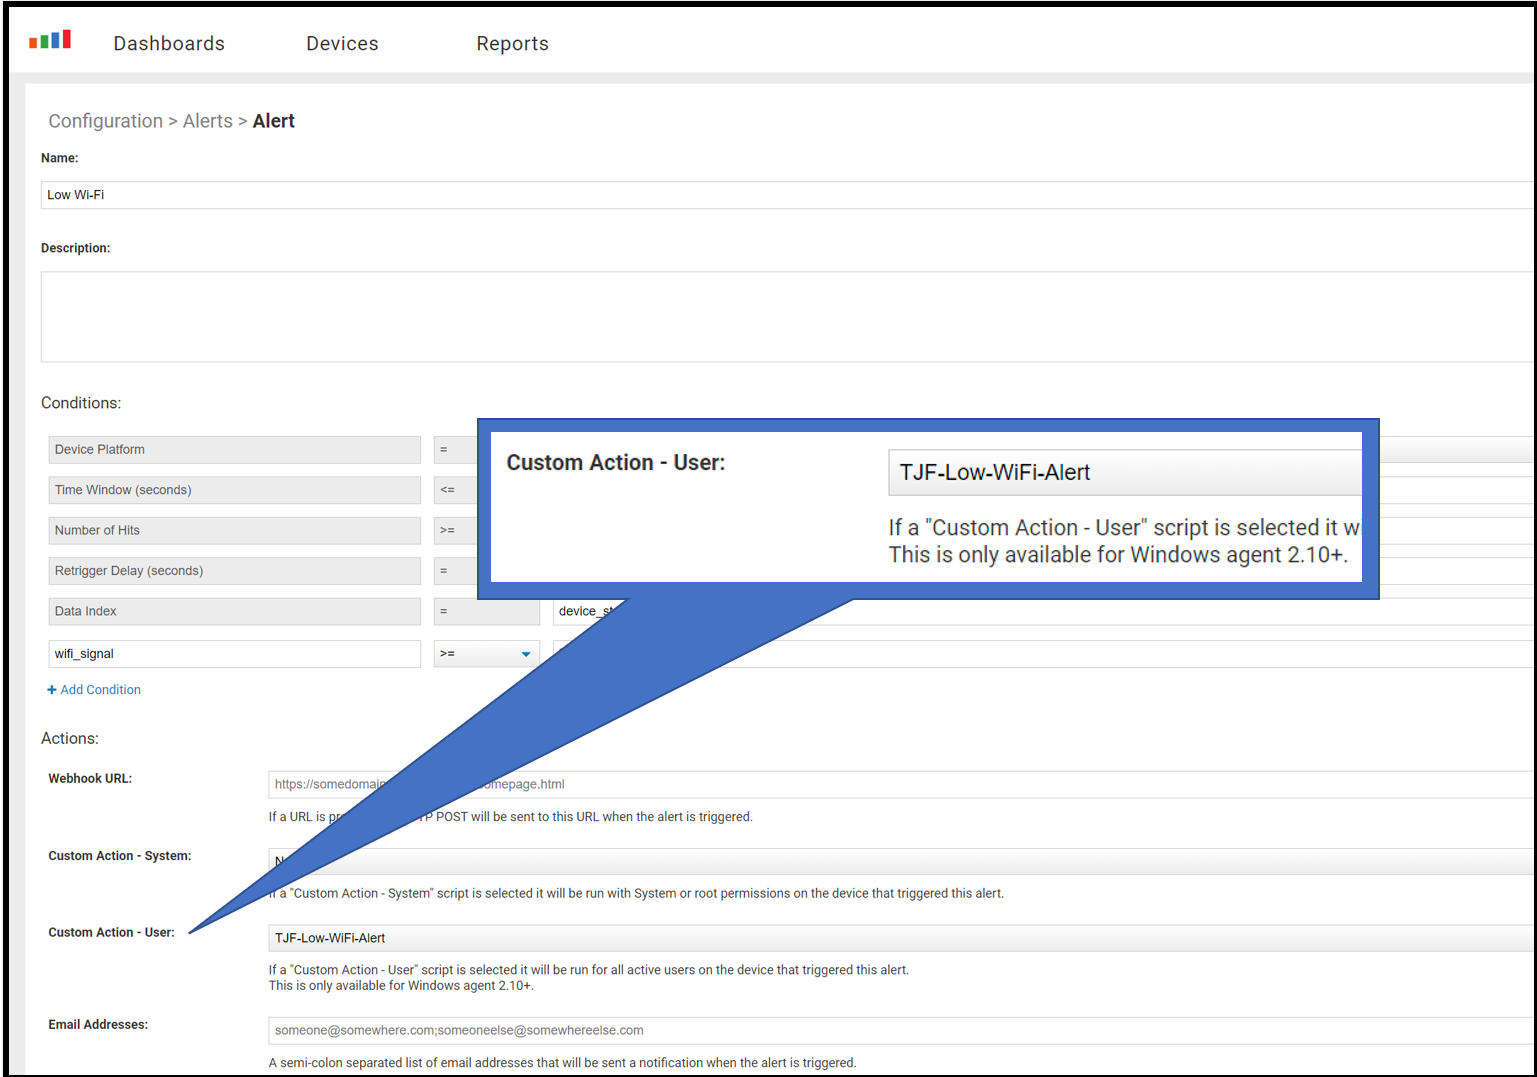
Figure 7: Trigger
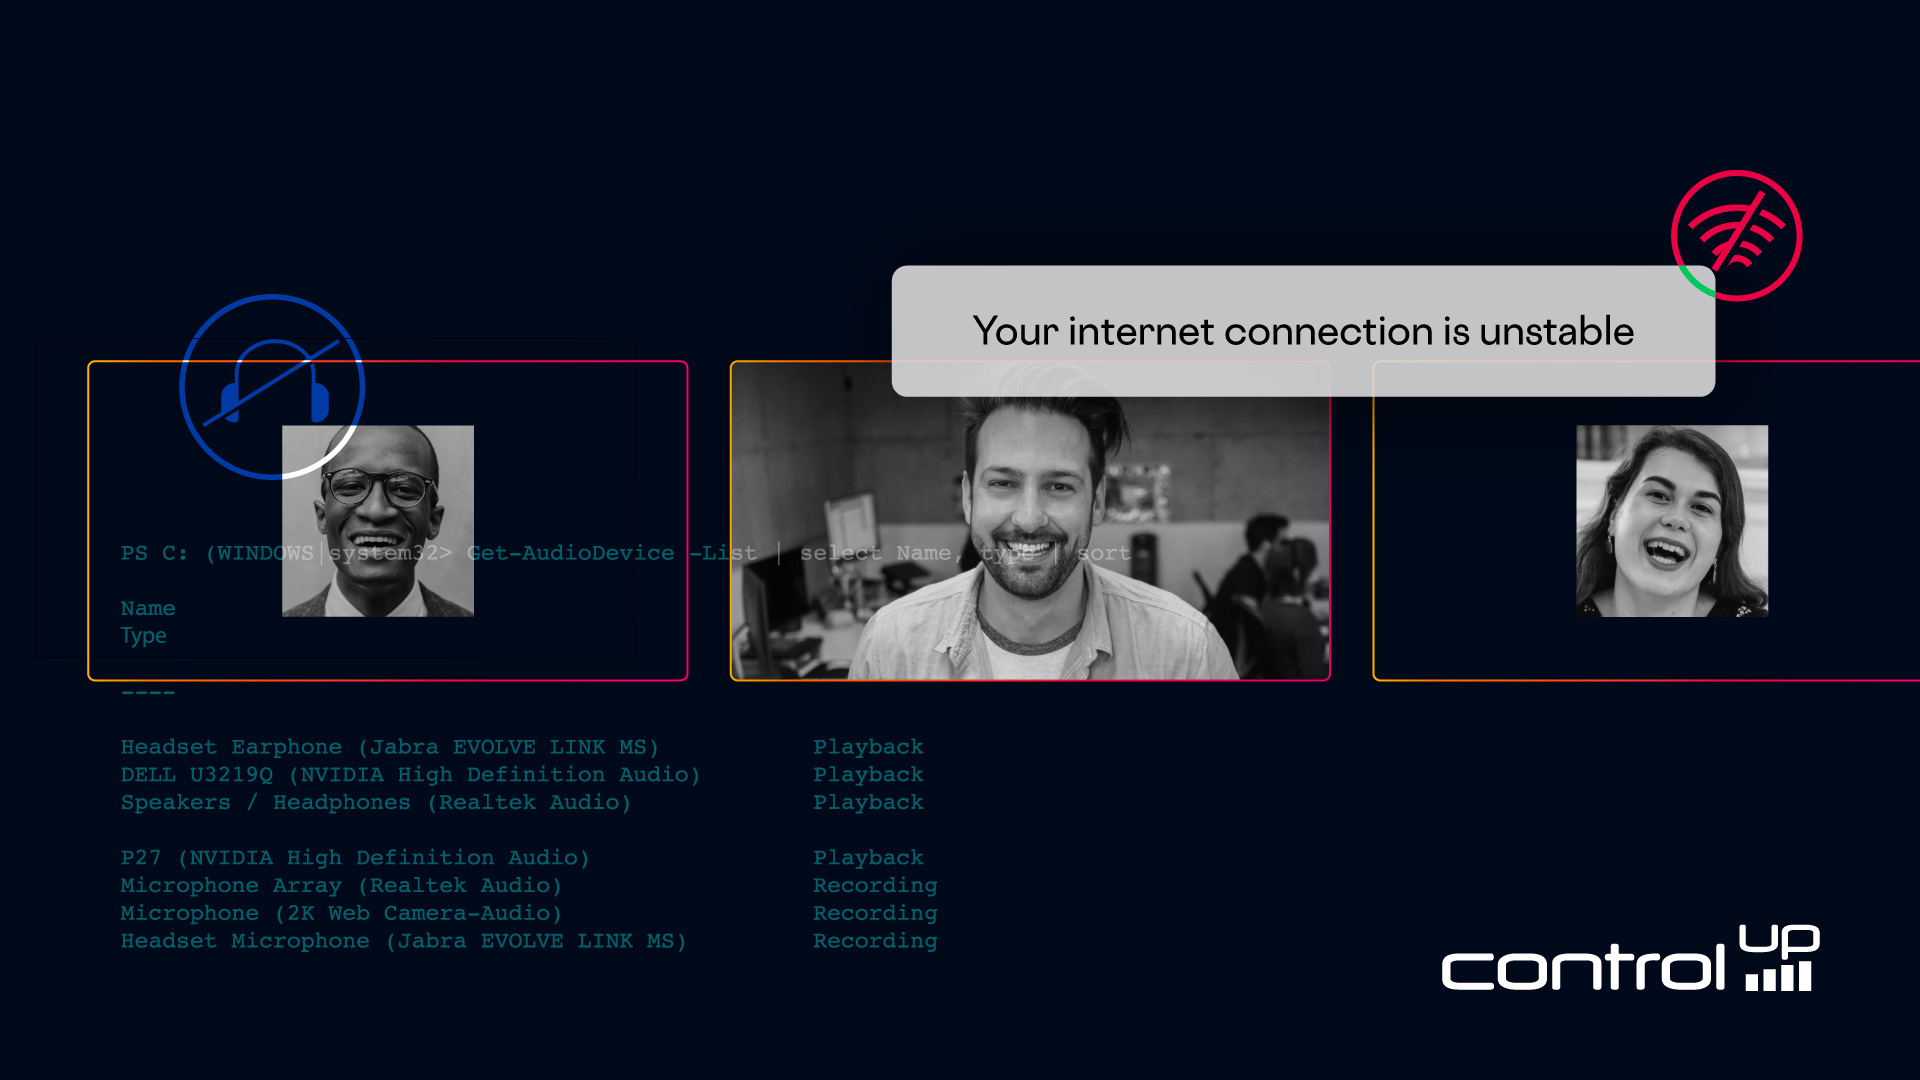
This is the pop-up that appeared when the above-stated parameters were met.
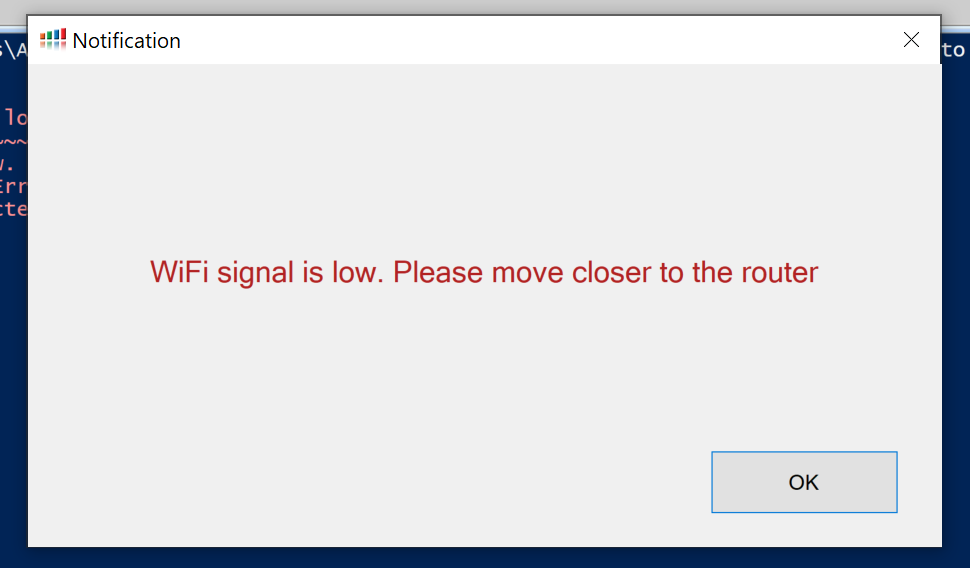
Figure 8: Pop-Up
For the sake of this article, I kept the automation (a pop-up message) for this scenario rather simplistic, but it does demonstrate how anything that can be scripted can be used to enact self-healing for an environment.
In the past, I have mentioned that monitoring is important; however, the remediation of issues once they are detected is more important. Edge DX allows you to do this by manually running a script or, even better, by having a trigger set in motion the actions that will automatically correct an issue without any user intervention.
More information on Edge DX can be found on ControlUp’s web page.