
A customer of ours was recently doing a hardware refresh and needed to know the model and manufacture date of the monitors attached to their Windows endpoint devices so they could get an idea of which users were using older, less efficient monitors that were more prone to breakage.
They first thought they could have the users self-report this information, but unfortunately, Windows System Information (Figure 1) and Device Manager do not report this information. Having the users get their information by reading the service tag on the monitors was also problematic as some of the tags were missing, and having users waste their time on this task led to a low response rate, and often, the information was incorrect.
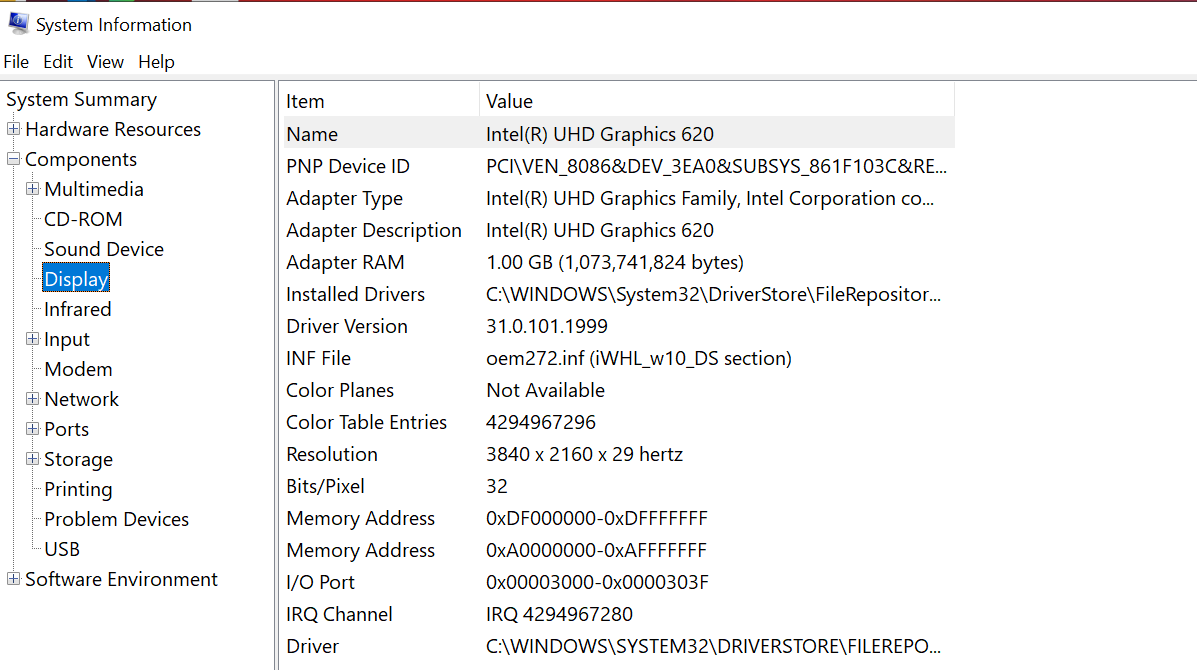
Figure 1: System Information
Fortunately, however, this information is obtainable using the command line, and Kubilay Dogan (ControlUp SE) wrote a PowerShell script to extract it. Putting this script in Edge DX and running it will collect this information and display it on the device’s home page in Edge DX, or it can be put in an Edge DX database if you want to create reports from it. If you don’t have Edge DX, you can strip out the top and bottom stanza and run it manually. However, this would be a waste of your time as I will show you how to get Edge DX for free at the bottom of this blog.
In this blog, I will show you the script we used to collect this information and create a report.
Gathering the Information:
Let’s dive right into it; the PowerShell script that gathers the information is shown below.
[Console]::OutputEncoding = [System.Text.Encoding]::UTF8 # This line is added automatically to help with Unicode characters. Please add your code below
function Decode {
    If ($args[0] -is [System.Array]) {
        [System.Text.Encoding]::ASCII.GetString($args[0])
    }
    Else {
        "Not Found"
    }
}

#skip script if machine is a vm
$ComputerSystemInfo = Get-WmiObject -Class Win32_ComputerSystem
if ($ComputerSystemInfo.Manufacturer -eq "VMware, Inc.")
{
    #optional feedback if script is run on a vm
}
else {
    $results = @()
    ForEach ($Monitor in Get-WmiObject WmiMonitorID -Namespace root\wmi) {
        $Manufacturer = Decode $Monitor.ManufacturerName -notmatch 0
        $Name = Decode $Monitor.UserFriendlyName -notmatch 0
        $Serial = Decode $Monitor.SerialNumberID -notmatch 0
        $response = New-Object System.Object
        $response | Add-Member -type NoteProperty -name 'Manufacturer' -Value $Manufacturer
        $response | Add-Member -type NoteProperty -name 'Model' -Value $Name
        $response | Add-Member -type NoteProperty -name 'Serial' -Value $Serial
        $response | Add-Member -type NoteProperty -name 'Build year and weeknr' -Value $($($Monitor.YearOfManufacture).ToString() + " - " + $($Monitor.WeekOfManufacture).ToString())
        if ($Serial -ne 0) #Internal monitors of laptops do not have a serial in WMI, so we skip those
        {
            $results += $response
        }
    }
    Write-Output "### SIP DATA BEGINS ###"
    $results | ConvertTo-Json
    Write-Output "### SIP DATA ENDS ###"
}
When creating the Edge DX script using the dialog (Figure 2), make sure that the platform is set to Microsoft Windows, the language is set to PowerShell, the trigger is Once Per Day, the Send Data and Overwrite Existing Data options are selected, and the Data Index is defined as Monitor_Index.
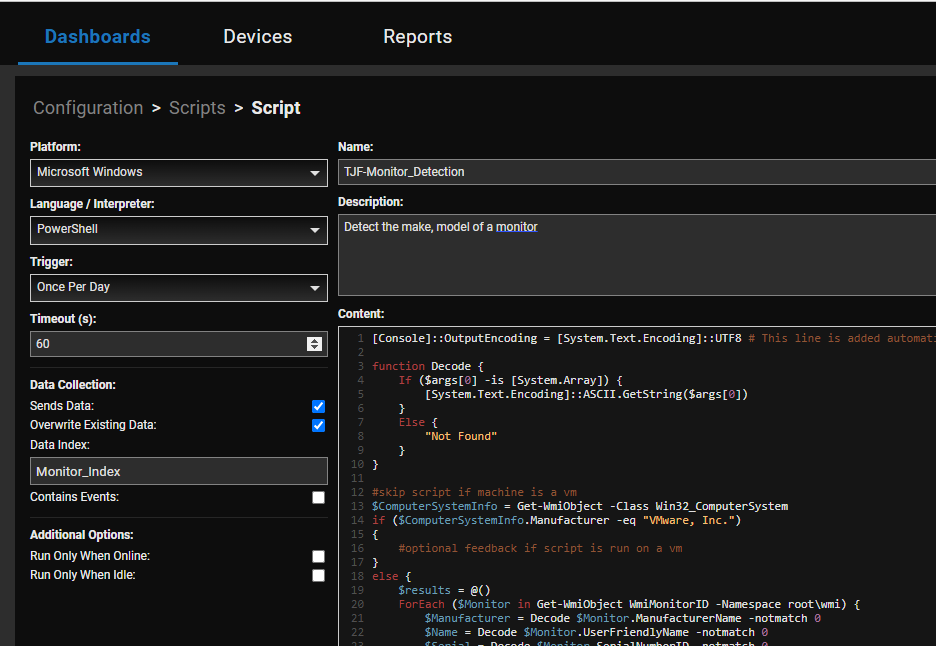
Figure 2: Script Dialog
Retrieving the Information
I let the script run for a day and then looked at the information collected by selecting Data from the Configuration drop-down menu (Figure 3).
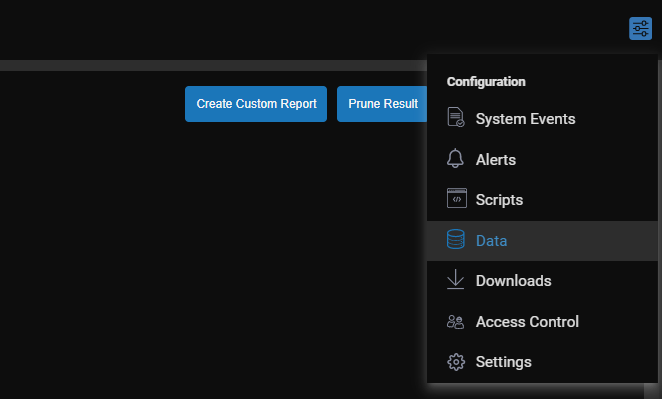
Figure 3: Configuration Drop-down Menu
I then selected the data index that I specified (monitor_index) when I created the script.
I filtered for the relevant information, deselected all the columns, and then selected the information (Figure 4) that I was interested in.
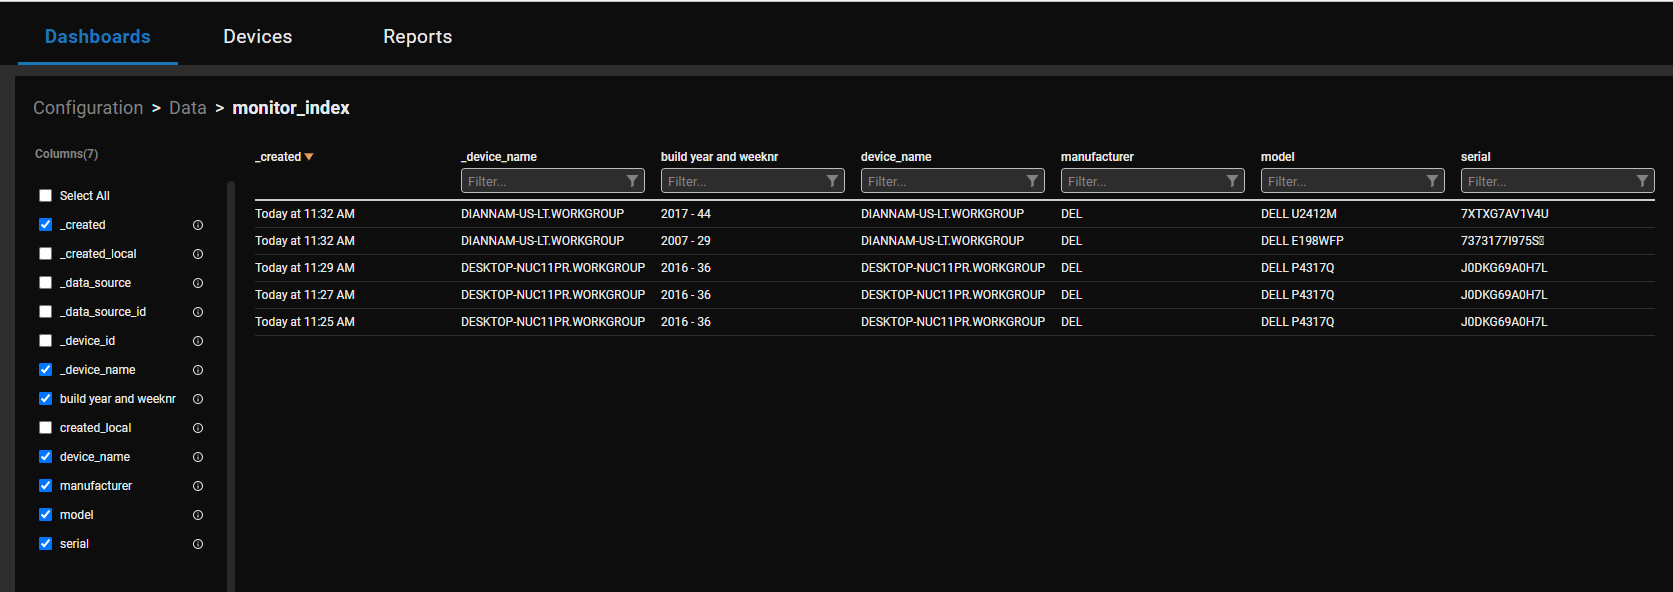
Figure 4: Selecting Information
I was surprised that one of the monitors was from 2007 (DELL E198WFP)! I didn’t believe this, but a Google search did show that the E198WFP indeed had a review from 2007.
Periodically Checking the Results
As the customer would periodically need this information, I created a custom report for them. To do this, I selected Create Custom Report (Figure 5) so they could get the latest information with a single mouse click.
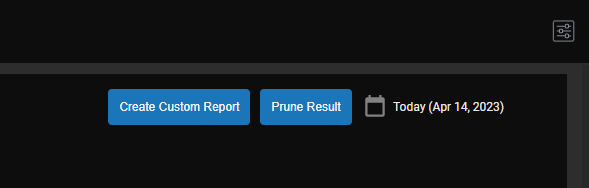
Figure 5: Create Report
I gave it a name and description and selected Publish, then Create (Figure 6).
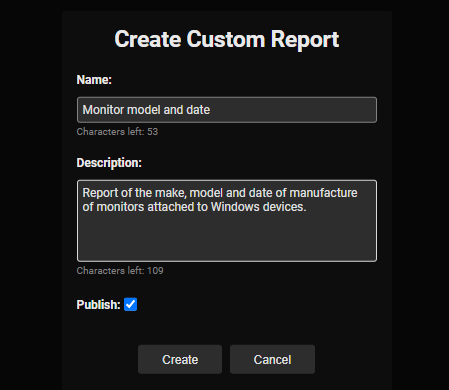
Figure 6: Publishing Report
Selecting the Reports tab and then Custom Reports (Figure 7), I can run the Monitor Model and Date report as required.
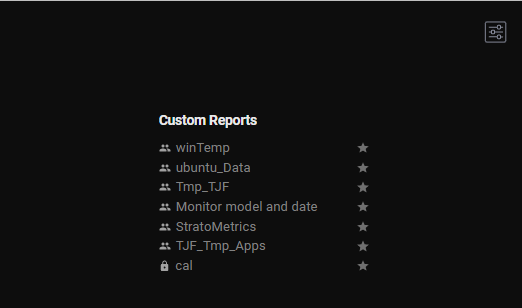
Figure 7: Running a Custom Report
I was surprised to discover how old one of the monitors was still being used. Although many companies will not care about the monitors attached to their devices, this blog shows how easy it is to extract information from devices monitored by Edge DX.
How You Can Get Edge DX for Free
If you already have Edge DX, you can simply implement this script and report generator on your tenant. If you have yet to install Edge DX, you can get our 50-user VIP pack for FREE by clicking this link!